Flexible Duct (R8.0)
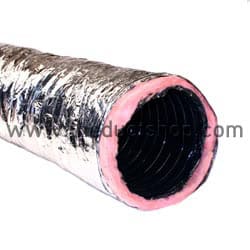
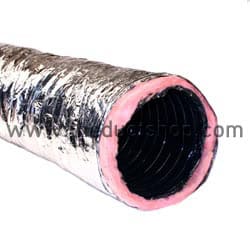
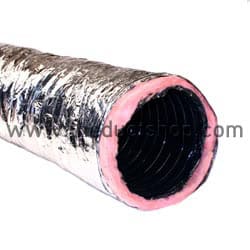
R8.0 Insulated Flexible duct from The Duct Shop is perfect for residential and light commercial heating and air conditioning systems. It is easy to cut to desired length and light weight for easy installation. Because it is flexible, it is easy to run around and through obstacles in the building. R8.0 Flexible duct is available in 25′ lengths with raw ends. This product is easy to cut to desired length and install with all of The Duct Shops sheet metal fittings.Insulated Flexible duct from The Duct Shop is perfect for residential and light commercial heating and air conditioning systems. It is easy to cut to desired length and light weight for easy installation. Because it is flexible, it is easy to run around and through obstacles in the building. Flexible duct is available in 6′ lengths with metal collars on both ends. Flexible Duct is also available in 25′ lengths with raw ends. This product is easy to cut to desired length and install with all of The Duct Shops sheet metal fittings.
Installation Tip — To cut flexible duct, use a steak knife from your kitchen drawer to cut through the outside jacket, fiberglass insulation and inner plastic core. Then cut the wire with a pair of wire cutters. To attach flexible duct to a sheet metal fitting, fold back outer jacket and fiberglass insulation. Insert sheet metal fitting into the inner core and fasten securely with duct tape. Fold fiberglass insulation and outer jacket back over the sheet metal fitting and secure with duct tape
How to Cut and Install a Flex Duct
By The Duct Shop
Installing flex duct for HVAC, heating or air conditioning is easier than it might appear. In this article, The Duct Shop will explain how simple this process can be.
To accomplish this task, you will need a piece of Flex duct, a steak knife, wire cutters, screw clamp and duct tape. After you have determined the required length of duct, cut completely around and through the duct with the steak knife. This is a very easy process. Once you have cut all the way around through the Jacket, Insulation and core, you will see a wire that is still connecting the two pieces of flex. Simply cut the wire with a pair of wire cutters. Now, fold back the jacket and insulation so that about 6” of the Core is exposed.
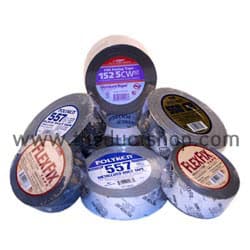
Next, slide at least 2″ of the core over the fitting you are attaching to. Seal core to duct collar with at least 2 wraps of duct tape. Secure connection with screw clamp placed over the core and the tape. As an alternative to the screw clamp, you may choose to use a draw band for this installation. Whichever you choose, just make sure that it is tight and securely fastened around the taped joint. Finally, pull the insulation and the jacket back over the core. Tape jacket with at least 2 wraps of duct tape to secure in place. A screw clamp or draw band may be used in place of, or in combination with the duct tape. That’s all there is to it. This process will help to prevent air leaks and reduce your energy costs.
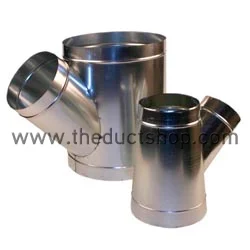
The Duct Shop has a full line of sheet metal duct, fittings and accessories necessary to complete any HVAC project you may be undertaking. In addition to the extensive variety of in-stock items, we can also custom manufacture any size, shape or quantity of duct that you may require.
If you have any questions, or need help in selecting the right tool for your project, please feel free to contact me at (800) 380-6861 or [email protected]
Jon Collins – The Duct Shop, America’s Trusted Supplier for your HVAC projects.

